VN Video Editor Stabilization-Updated Tutorial For Beginners
While recording a video, our hands may shake, causing lag. People watching our video might feel it was made by an unprofessional person, spoiling our user experience and breaking the flow of the video.
Do you want to remove that shaky effect using the most popular video editor, the VN app, which has over 100 million downloads on the Google Play Store? Many people are not familiar with the VN Video Editor stabilization feature. Don’t worry; this tutorial will tell you how to stabilize video in VN Video Editor.
Importance Of Stabilization
It helps you to handle shaky shots taken by hand due to environmental conditions or equipment limitations. I questioned various content creators about this, and they told me that shaky video becomes the basis of dislike of the people, which ultimately becomes the reason for their disengagement. They said that if you correct this, it not only makes your content compelling, but your video will completely click on their minds.


What Is VN Video Editor?
VN is a video editing app developed by Ubiquiti Labs, LLC. Since its launch on May 4, 2018, it has been the most popular video editing app in its category on the Google Play Store. It was an Android app earlier, but when it became so popular, its developers made it available on iOS and MAC, and you can also use it on PC. It is famous for shorts, reels, short-form content, and complex vlog editing. Its advanced editing features make it stand out among others.
How VN Video Editor Stabilization Work?
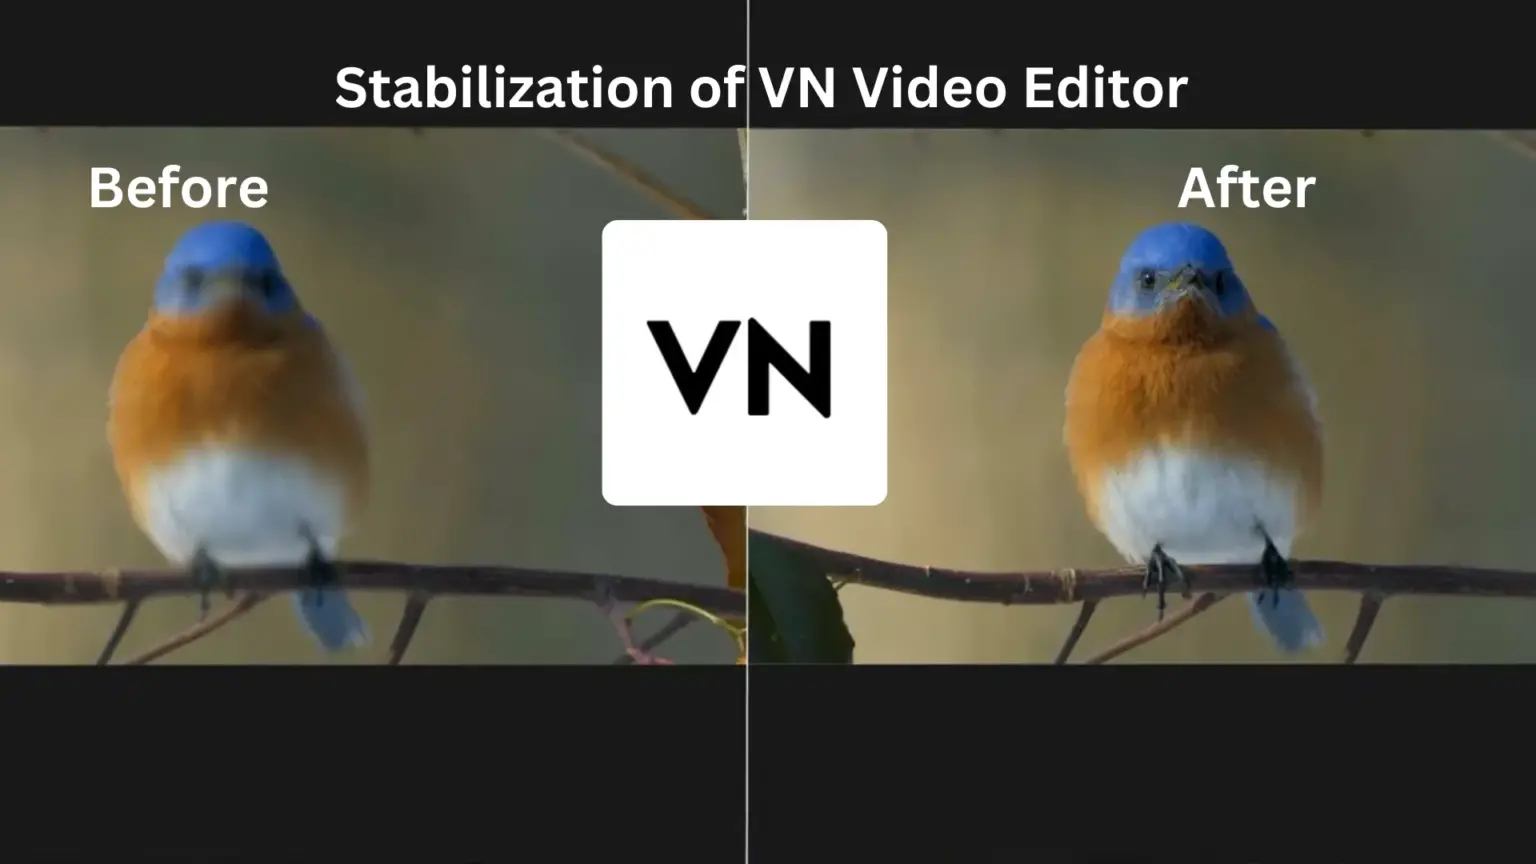
Stabilizing the video so the rest is manageable is difficult, but the VN app excels.
Steps Involve In Stabilizing Video
Step 1: Open the VN Video Editor and click on the new project.
Step 2: Select the primary footage that you want to edit.
Step 3: Click on the speed button at the bottom.
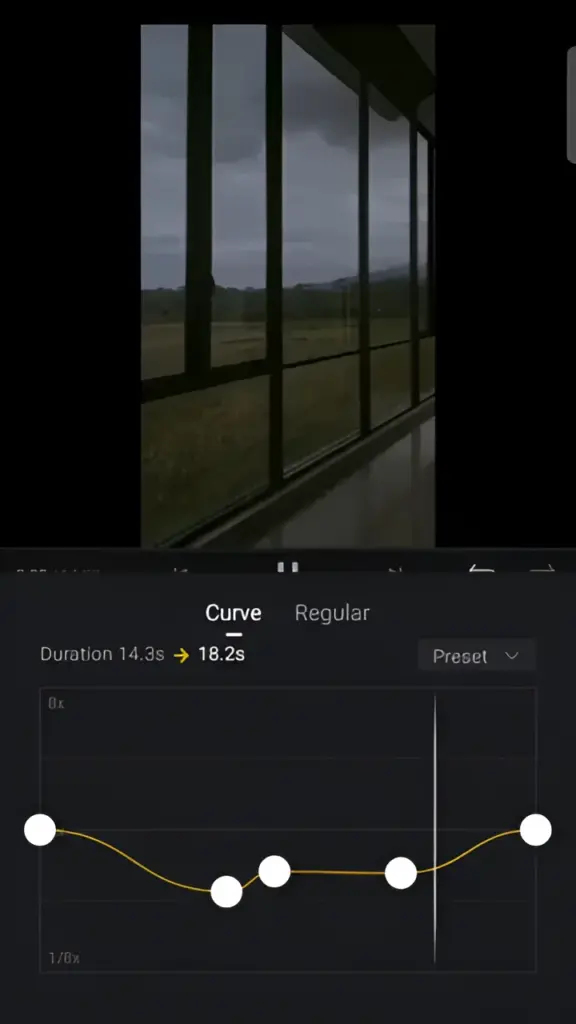
Step 4: It’ll take you to the speed curve with a yellow line with white dots.
Step 5: Since it doesn’t have a direct stabilization option, slow down the speed of a particular shaky section simply by adjusting the white dots.
Step 6: Preview your video to see the mistakes. If not, share it on different social media platforms using your customizable export settings directly from the app.
Congratulations! You have successfully stabilized your video by using the VN application.

FAQs-Frequently Asked Questions
Final Words
In this article, we discussed the VN video editor and comprehensively covered its one main editing feature, VN Video Editor Stabilization. I highlighted its importance and all the steps included in its stabilization. Lastly, I answered your frequently asked questions. If you have any other questions related to the topic, the comment box is there for you.
Allow the push notifications to be the first to access the secret recipes of professional filmmakers. If you found this article helpful, share it with your community on social media so they can continue to benefit from such video editing tips and tricks.

